How to Upgrade macOS to the Latest Version — A Complete Guide
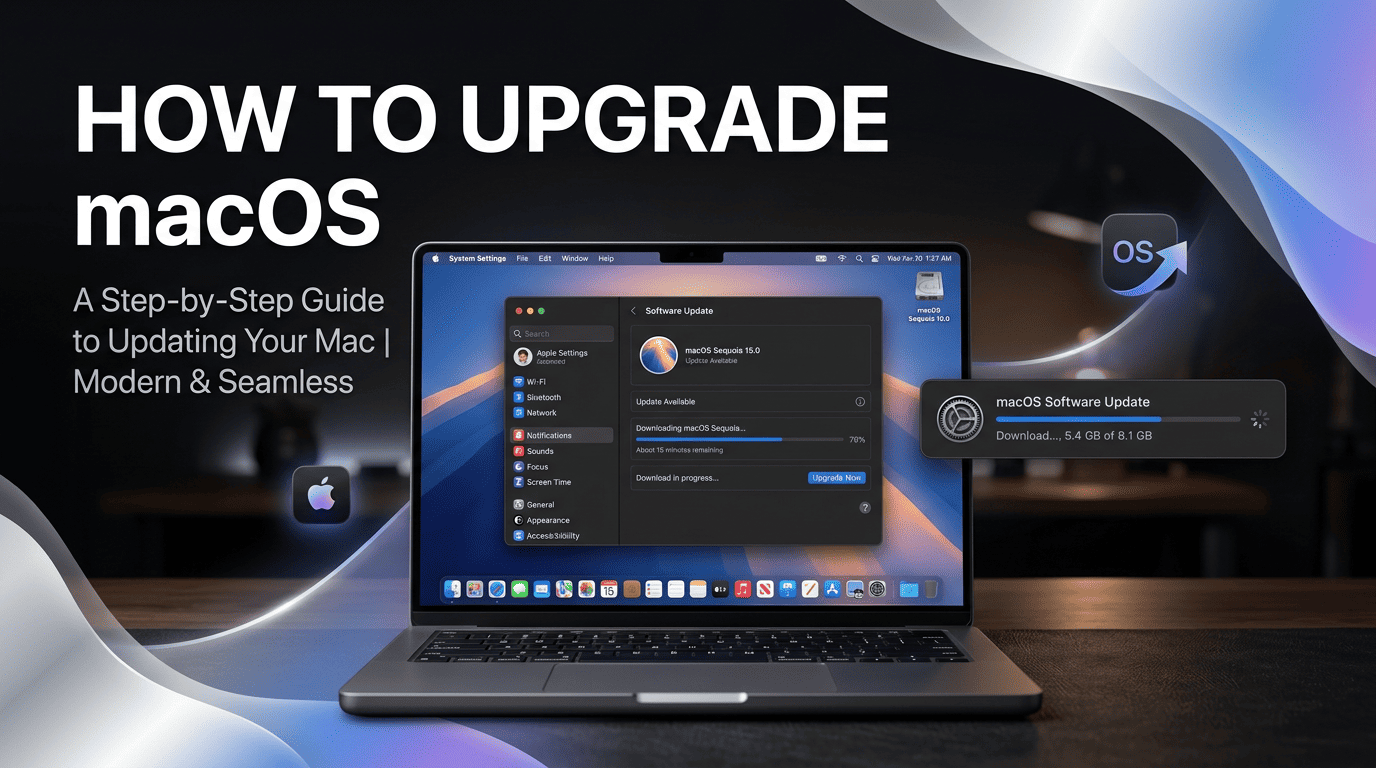
Upgrading macOS is one of the most important maintenance tasks you can perform on your Mac. Each new version brings security patches, performance improvements, new features, and updated frameworks that developers and applications depend on. Staying on an outdated macOS version leaves your machine exposed to known vulnerabilities and eventually cuts you off from the latest software.
That said, a macOS upgrade is not something to rush. Doing it without preparation — particularly on a machine you rely on for work — can leave you with incompatible apps, missing files, or a Mac that won't boot. This guide walks you through every step, from checking compatibility through to verifying the upgrade completed successfully.
Step 1: Check Your Mac's Compatibility
Not every Mac can run the latest macOS version. Apple drops support for older hardware with each major release. Before anything else, confirm your Mac is on the supported hardware list.
To check your Mac model:
Click the Apple menu () in the top-left corner of your screen.
Select About This Mac.
Note your Mac model and year (e.g., "MacBook Pro 14-inch, 2021").
Then visit Apple's macOS release page to confirm your model is listed under supported hardware for the version you want to install. As a general rule, Apple supports Macs from approximately the last 7 years, though this varies by model.
If your Mac is not supported, you cannot install the latest macOS through the standard upgrade path. You would need to use a tool like OpenCore Legacy Patcher, though this is an advanced option outside the scope of this guide.
Step 2: Check Your Available Disk Space
macOS upgrades require significant free disk space — typically 12–20 GB for the installer download, plus additional space for the upgrade process itself. Apple recommends at least 20 GB free before starting.
To check your available storage:
Click the Apple menu and select About This Mac.
Click the Storage tab (on older macOS) or open System Settings → General → Storage on newer versions.
Review how much space is available.
If you are running low, delete large unused files, empty the Trash, and remove old downloads before proceeding. The Storage view often includes a Recommendations section with quick actions to free up space.
Step 3: Back Up Your Mac with Time Machine
This is the most important step and the one most people skip. If the upgrade fails, your apps become incompatible, or critical files are missing after the upgrade, a backup is the only thing that lets you recover completely.
To back up with Time Machine:
Connect an external hard drive or SSD to your Mac.
Open System Settings → General → Time Machine (or System Preferences → Time Machine on older macOS).
Click Add Backup Disk and select your external drive.
Time Machine will begin a backup automatically. Wait for it to complete — do not start the upgrade until the backup finishes.
If you do not have an external drive, consider using iCloud Drive or a third-party tool like Carbon Copy Cloner or SuperDuper to create a full bootable clone of your drive. A Time Machine backup is the minimum; a bootable clone is better for disaster recovery.
Do not proceed without a backup. macOS upgrades are generally safe but not infallible — hardware failures, power cuts, and edge-case software conflicts can all cause data loss during an upgrade.
Step 4: Update Your Apps
Before upgrading macOS, update all your critical apps to their latest versions. Developers release macOS compatibility updates ahead of major releases, and running the latest version of each app reduces the chance of post-upgrade breakage.
Open the App Store and go to the Updates tab. Click Update All.
For apps outside the App Store (e.g., Adobe apps, browser extensions, developer tools), check their respective update mechanisms or websites.
Pay special attention to security tools, virtual machines (Parallels, VMware), VPNs, and system utilities — these are the apps most likely to have macOS version dependencies.
If you rely on a specific app for work and it does not yet support the new macOS version, consider waiting until the developer releases a compatible update before upgrading.
Step 5: Plug In Your Power Adapter
A macOS upgrade can take 30 minutes to over an hour depending on your Mac model and internet connection speed. Running on battery during the upgrade risks a power interruption mid-install, which can corrupt the installation and leave your Mac in an unbootable state.
Always connect your Mac to power before starting the upgrade. If you are on a MacBook, plug in the charger and confirm it is charging before you begin.
Step 6: Download and Install the macOS Upgrade
With compatibility confirmed, disk space cleared, backup complete, apps updated, and power connected — you are ready to start the upgrade.
Open System Settings (or System Preferences on older macOS) from the Apple menu.
Click General → Software Update. macOS will check for available updates. If a major upgrade is available, it will appear here with an Upgrade Now button.
Click Upgrade Now. You will be prompted to enter your administrator password.
The installer will download — this can take 10–60 minutes depending on your internet speed and the size of the installer (typically 12–15 GB).
Once downloaded, the installer will launch automatically. Click Continue, agree to the licence terms, and select your startup disk as the install location.
Click Install. Your Mac will restart and begin the upgrade process. The screen will show a progress bar. Your Mac may restart several times — this is normal.
Do not interrupt the upgrade process once it has started. Leave your Mac alone and let it complete. The total time from starting the install to reaching the login screen is typically 30–60 minutes on modern hardware.
Step 7: Complete the Post-Upgrade Setup
After the upgrade completes and your Mac restarts, you will be guided through a short setup assistant. This may include:
Signing in with your Apple ID to re-enable iCloud, Find My, and other services.
Setting up new features introduced in the new macOS version.
Granting privacy permissions to apps that need to re-request access after the upgrade.
Work through the setup screens. Once you reach the desktop, your Mac is running the new macOS version.
Step 8: Verify the Upgrade
Confirm the upgrade completed successfully and check that your key apps and files are intact.
Click the Apple menu and select About This Mac. Confirm the macOS version shown matches the version you upgraded to.
Open your most critical apps and verify they launch and function correctly.
Check that your files are present — open Finder and browse your Documents, Desktop, and Downloads folders.
Open System Settings → Privacy & Security and review app permissions. Some apps may need to be re-granted access to the camera, microphone, screen recording, or full disk access after the upgrade.
If you use developer tools, open Terminal and run
xcode-select --installto reinstall the Xcode Command Line Tools, which macOS upgrades sometimes remove.
What to Do If the Upgrade Gets Stuck
Occasionally the upgrade progress bar will appear to freeze — sitting on the same percentage for an extended period. Before panicking, wait. Some stages of the upgrade process take much longer than others and the progress bar is not a reliable indicator of time remaining. Give it at least 30 minutes before taking any action.
If your Mac is genuinely stuck (no disk activity, no progress after 60+ minutes):
Hold the power button to force a shutdown. Restart your Mac normally — the upgrade may resume or complete automatically from where it left off.
If your Mac boots to a broken or incomplete system, restart into macOS Recovery by holding Command + R (Intel Macs) or pressing and holding the power button until you see startup options (Apple Silicon Macs).
In Recovery, use Disk Utility → First Aid to check and repair your disk.
If the disk is fine, use Reinstall macOS from Recovery to complete or redo the installation without losing your files.
If everything fails, use Restore from Time Machine Backup in Recovery to roll back to your pre-upgrade state.
What to Do If Apps Break After the Upgrade
Some apps — particularly older ones, system utilities, or security software — may stop working after a major macOS upgrade. The most common causes are:
32-bit apps: Apple dropped support for 32-bit apps in macOS Catalina (10.15). If you are upgrading from an old macOS version, any 32-bit app will no longer run. Check About This Mac → System Report → Applications to identify 32-bit apps before upgrading.
Kernel extensions (kexts): Older system utilities and security tools that relied on kernel extensions may break. The developer needs to release an update using Apple's newer System Extensions framework.
Python 2, Ruby, and other bundled runtimes: Apple has removed older bundled runtimes with successive macOS versions. If you relied on the system Python or Ruby, you will need to install your own version via Homebrew.
For broken developer tools, running xcode-select --install in Terminal resolves the majority of command-line tool issues after an upgrade.
How to Downgrade macOS If Needed
If the upgrade causes serious problems and you need to roll back, your options depend on how quickly you act:
Within the first few days: Restore from your Time Machine backup using macOS Recovery. This is the cleanest and safest rollback method and restores your Mac to exactly the state it was in before the upgrade.
After wiping and reinstalling: Boot into macOS Recovery and hold Command + Option + R (Internet Recovery) to install the original macOS version that shipped with your Mac. Then restore your data from backup.
Using a bootable installer: If you created a bootable USB installer of your previous macOS version before upgrading, boot from it and perform a clean install.
This is why the backup step is non-negotiable. Without a backup made before the upgrade, a clean downgrade is not possible — you would be starting from scratch.
Tips for Developers Upgrading macOS
If you use your Mac for development, a macOS upgrade requires a few extra checks:
Homebrew: After the upgrade, run
brew update && brew doctorin Terminal to check for any broken packages or required relinks.Node.js and npm: If you installed Node via nvm or Homebrew, verify it still works with
node --version. Reinstall via nvm if needed.Ruby gems and bundler: System Ruby changes frequently between macOS versions. If you use rbenv or rvm, reinstall your Ruby version after the upgrade.
PHP: Apple has removed the bundled PHP from macOS. Install and manage PHP via Homebrew:
brew install php.SSH keys: Your SSH keys in
~/.ssh/are preserved through the upgrade, but you may need to re-add them to the macOS Keychain withssh-add --apple-use-keychain ~/.ssh/id_rsa.Claude Code and other CLI tools: After upgrading macOS, verify your Claude Code installation still works by running
claude --versionin Terminal. If not, reinstall vianpm install -g @anthropic-ai/claude-code.