How to Block Countries in Cloudflare — The Complete Guide
Growing traffic on your website can seem like a good thing, but sometimes that traffic is driven by bots, scanners, and attackers rather than real visitors. As a web admin, you can often trace these problems back to specific geographic regions. Cloudflare gives you a straightforward way to block entire countries — or to challenge them — directly from your dashboard without touching your server configuration at all.
This guide covers every method available, when to use them, what risks to be aware of, and how to verify that blocking is actually working.
Why You Might Want to Block Countries
There are several legitimate reasons to restrict access by country:
Bot traffic and automated attacks: A significant portion of malicious scanning, brute-force login attempts, and spam form submissions originates from specific regions. If your Cloudflare Analytics show that 80% of your security events come from one country that has no legitimate users on your site, blocking that country can dramatically reduce server load and attack surface.
Targeted DDoS and XSS attacks: When a coordinated attack originates from a single country, a quick geo-block buys time while you investigate and harden your defences. XSS attacks, injection attacks, and phishing probes often originate from specific regions with poor cybercrime enforcement.
Irrelevant traffic wasting server resources: If you run a local business or a country-specific service, visitors from unrelated countries who never convert still consume bandwidth, inflate analytics, and increase hosting costs. Blocking them preserves resources for your actual audience.
Legal and compliance requirements: Copyright licensing, data protection law (GDPR, CCPA), and content distribution agreements sometimes legally require you to block users from specific jurisdictions. A streaming service that only has rights to broadcast content in certain countries, for example, must geo-restrict access.
When NOT to Block Countries
Geo-blocking is not the right tool for every situation. Consider these cases where it can cause problems:
E-commerce stores with international customers: Blocking a country entirely means blocking potential buyers. Even if most traffic from a country is bot traffic, you may be turning away real customers. Consider rate limiting or a JS challenge instead of an outright block.
VPN and Tor users getting caught in geo-blocks: Privacy-conscious users — including legitimate customers — often use VPNs that route traffic through servers in unexpected countries. A block on Russia, for example, might block a British user whose VPN exit node is in Moscow. If legitimate VPN traffic matters to you, use a CAPTCHA challenge instead of a hard block.
Remote workers and distributed teams: If your team has staff in multiple countries or uses cloud infrastructure in various regions, blanket geo-blocks can inadvertently lock out employees or automated systems.
Content that relies on global SEO: Search engine crawlers come from data centres around the world, not necessarily from the same country as Google’s headquarters. Overly aggressive blocking could impede crawling and hurt search rankings.
How to Find Which Countries Are Sending the Most Traffic
Before blocking anything, you should identify where your traffic is actually coming from. Cloudflare Analytics makes this easy.
Login to your Cloudflare account.
Select the website you want to review.
Navigate to Analytics & Logs → Traffic. Under the map and breakdown section you will see a country-by-country split of all requests. Look for countries with high request volumes that have no reason to be visiting your site.
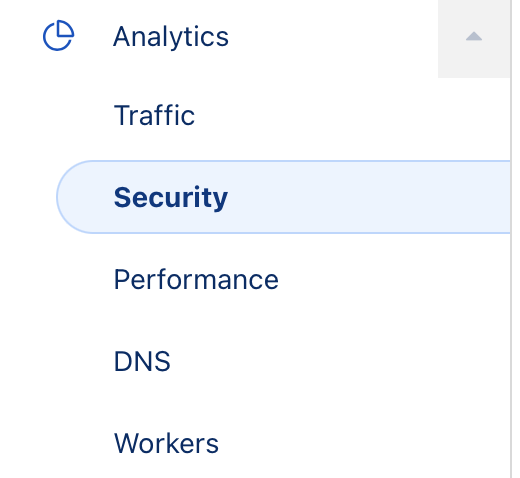
To see security-specific threats by country, navigate to Analytics & Logs → Security.
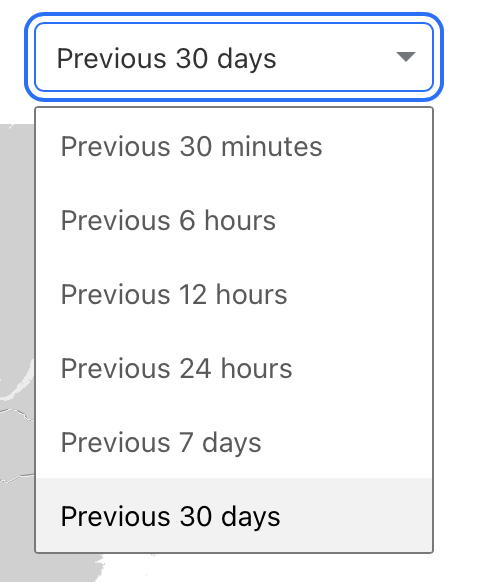
Scroll down to the Threats By Country section and select Previous 30 Days as the time range.
In the Top Threat Countries / Regions table, you will see the countries generating the most security events — blocked requests, challenges triggered, firewall rule matches.
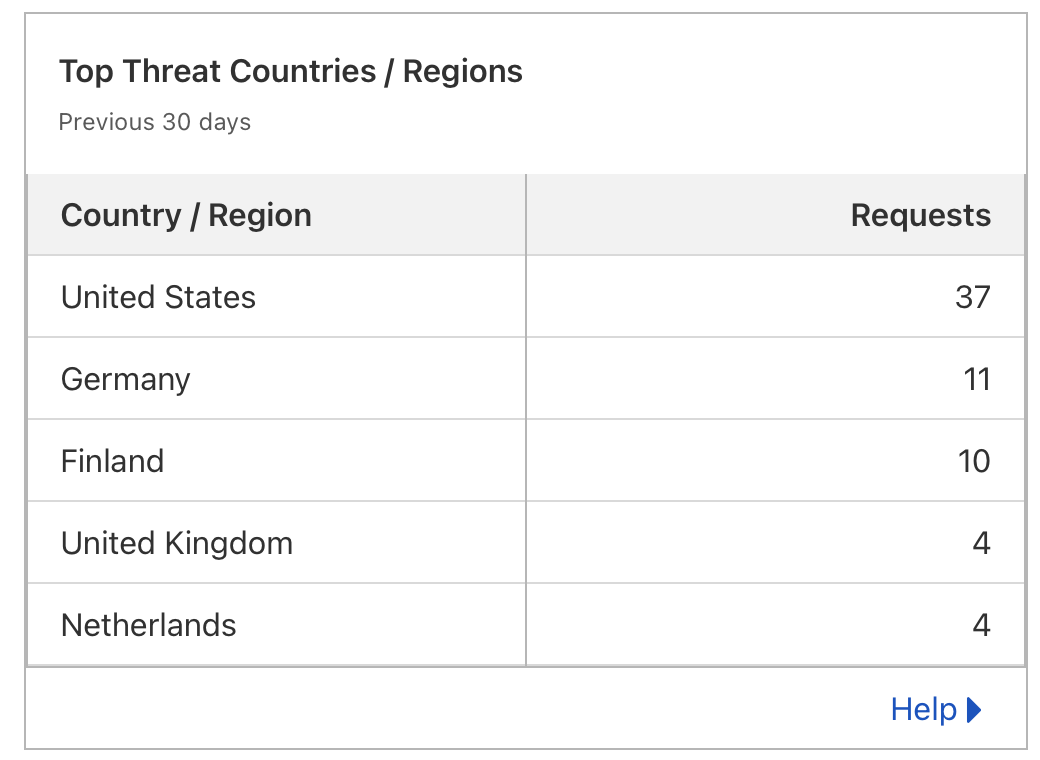
Use this data to make an informed decision. If a country appears in both the top traffic list and the top threat list, and you have no legitimate users there, it is a strong candidate for blocking.
Method 1: Cloudflare WAF Custom Rules — The Modern Method
The Cloudflare Firewall Rules interface was replaced with WAF Custom Rules, which is the current and recommended method. For this to work, your domain must have Cloudflare’s proxy enabled (orange cloud on your A/CNAME records).
Step-by-Step: Blocking a Single Country
Login to your Cloudflare account and select your website.
Select the website domain you want to apply firewall blocking rules to.
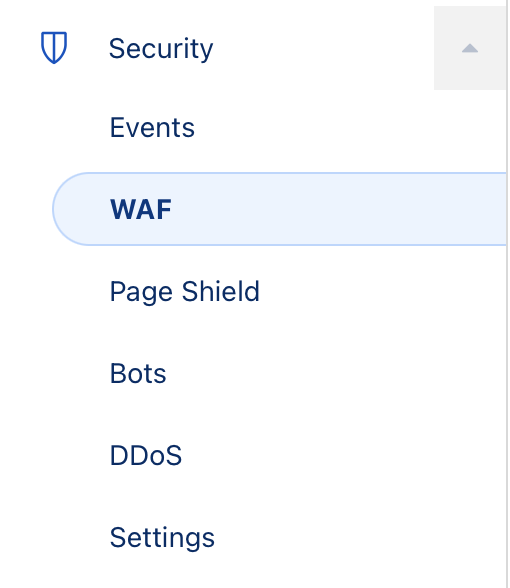
In the left sidebar, navigate to Security → WAF.
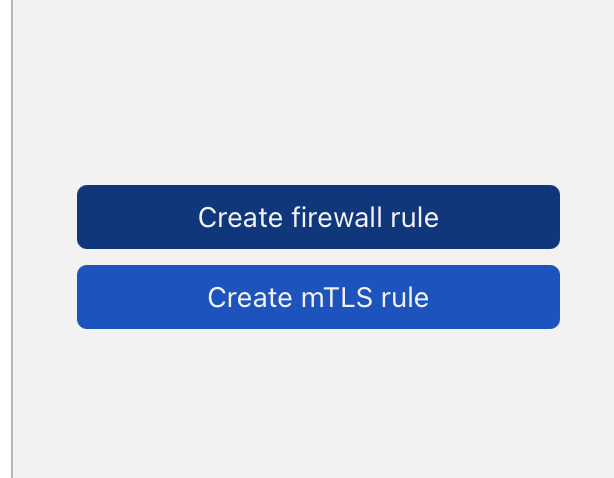
Click the Custom rules tab, then click Create rule.
Give the rule a descriptive name such as Block Russia or Block High-Risk Countries.
In the rule expression builder, configure the following:
- Field: Country
- Operator: equals
- Value: Select the country name from the dropdown (e.g. Russia)
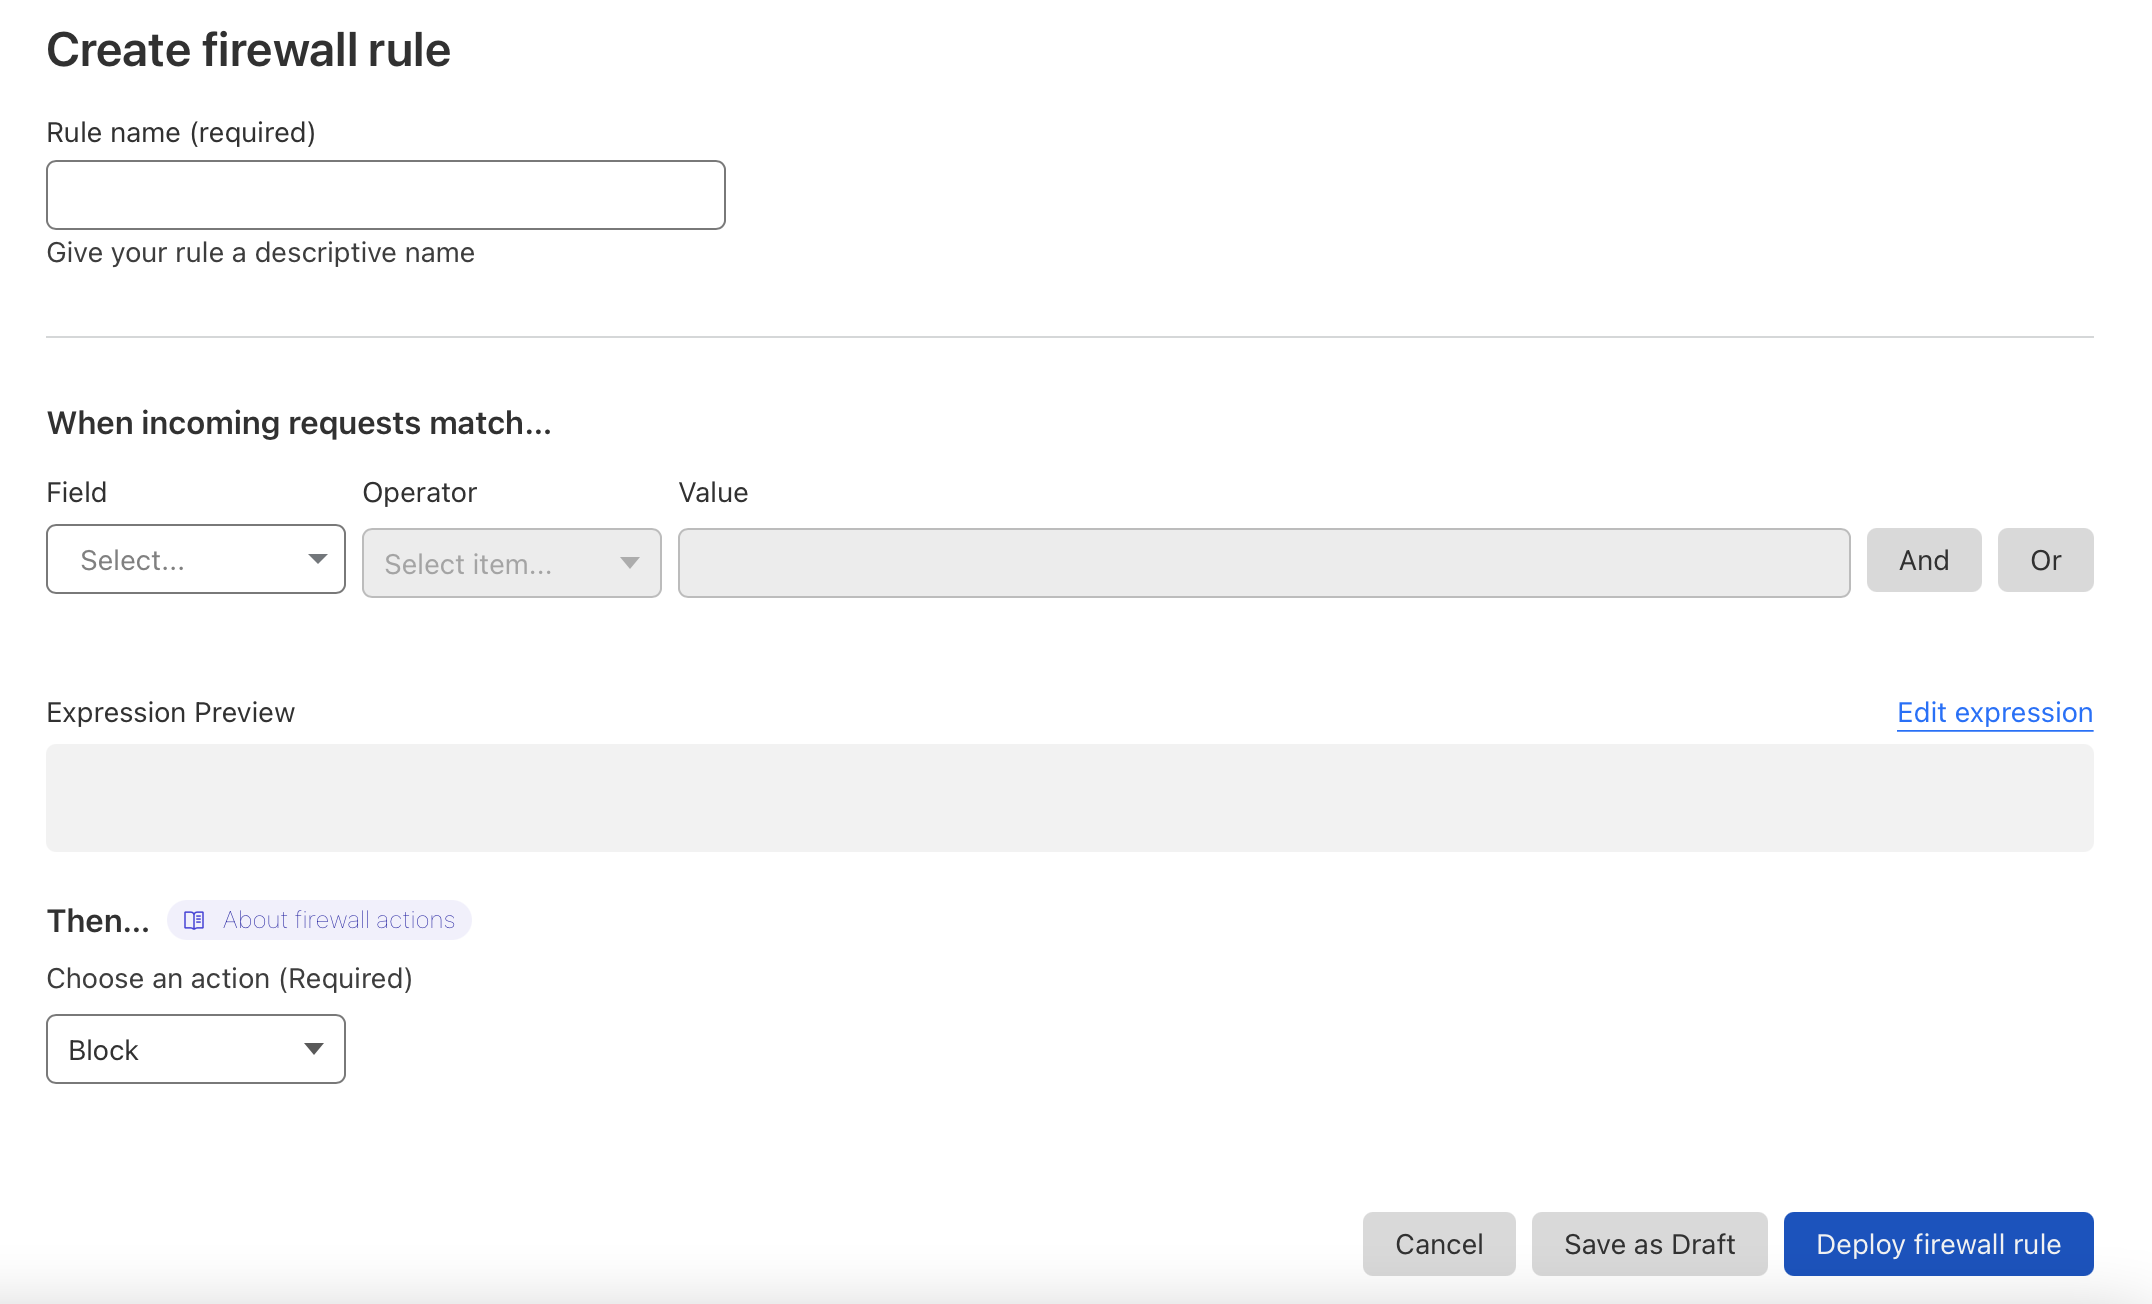
Set the Action to Block.
Click Deploy. The rule is immediately active — no propagation delay.
Visitors from the blocked country will now see a Cloudflare block page (HTTP 403) instead of your website.
Blocking Multiple Countries in One Rule
Instead of creating a separate rule for each country (which wastes your rule quota on the free plan), combine them using OR logic in the expression editor. Click Edit expression to switch from the visual builder to the expression editor, and write:
(ip.geoip.country in {"RU" "CN" "KP" "IR"})Replace the two-letter country codes with the ISO 3166-1 alpha-2 codes for whichever countries you want to block. You can find the correct codes at Wikipedia’s ISO 3166-1 alpha-2 list. This single rule handles multiple countries efficiently within your free plan’s rule limit.
Method 2: Challenge Instead of Block — A Less Aggressive Option
If you are not sure whether a country contains legitimate visitors and you do not want to hard-block it, use a Managed Challenge or JS Challenge as the action instead of Block. With a Managed Challenge, Cloudflare presents the visitor with a CAPTCHA or an invisible browser integrity check. Real humans pass through; bots fail and are stopped.
To set this up, follow the same steps as Method 1 but choose Managed Challenge from the Action dropdown instead of Block. This is particularly useful for countries that send a mix of legitimate visitors and bot traffic. You get protection without losing real customers.
Method 3: Cloudflare Workers — For Complex Logic
For more sophisticated geo-based rules — such as redirecting visitors from certain countries to a localised version of your site, or blocking only specific paths for certain countries — Cloudflare Workers gives you full programmatic control. A Worker is a JavaScript function that runs at the edge before requests reach your server.
A simple country-blocking Worker looks like this:
addEventListener(‘fetch’, event => {
  event.respondWith(handleRequest(event.request))
})

async function handleRequest(request) {
  const country = request.cf.country
  const blockedCountries = [‘RU’, ‘CN’, ‘KP’]
  if (blockedCountries.includes(country)) {
    return new Response(‘Access denied.’, { status: 403 })
  }
  return fetch(request)
}
Deploy this via Workers & Pages → Create application → Create Worker, then attach it to your domain using a Route. Workers give you far more flexibility than WAF rules but require basic JavaScript knowledge to maintain.
How to Whitelist Specific IPs While Blocking a Country
A common problem with geo-blocking: you need to block a country but you have specific users or servers in that country that must still have access (e.g. a remote employee, a client, or a monitoring service). Cloudflare’s rule priority system handles this elegantly.
In Security → WAF → Custom rules, create a new rule above your country block rule.
Set the expression to match the specific IP address or IP range you want to allow:
(ip.src eq 203.0.113.45)Set the action to Skip — and check Skip all remaining custom rules.
Ensure this allow rule has a higher priority number (processed first) than your block rule. Rules are processed in order from top to bottom in the list — drag to reorder.
Now the specific IP bypasses the country block, while all other traffic from that country is still blocked. You can also use Cloudflare’s IP Access Rules (under Security → WAF → Tools) to quickly allowlist IP addresses without writing a custom rule expression.
How to Check If a Country Block Is Working
After deploying a rule, you want to confirm it is actually blocking correctly. There are two reliable ways:
Test With a VPN
Install a VPN client (Mullvad, ProtonVPN, or ExpressVPN all work) and connect to a server in the country you just blocked. Then open your website in a browser. You should see Cloudflare’s block page with a 403 error code. If you see your normal website, the rule is not working — check that the domain records are proxied (orange cloud) and that the rule is deployed and enabled.
Check Cloudflare Security Events
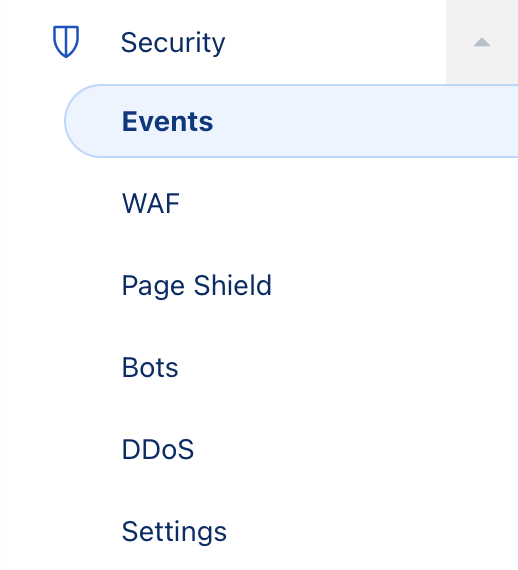
In your Cloudflare dashboard, navigate to Security → Events.
Scroll to the Activity Log section.
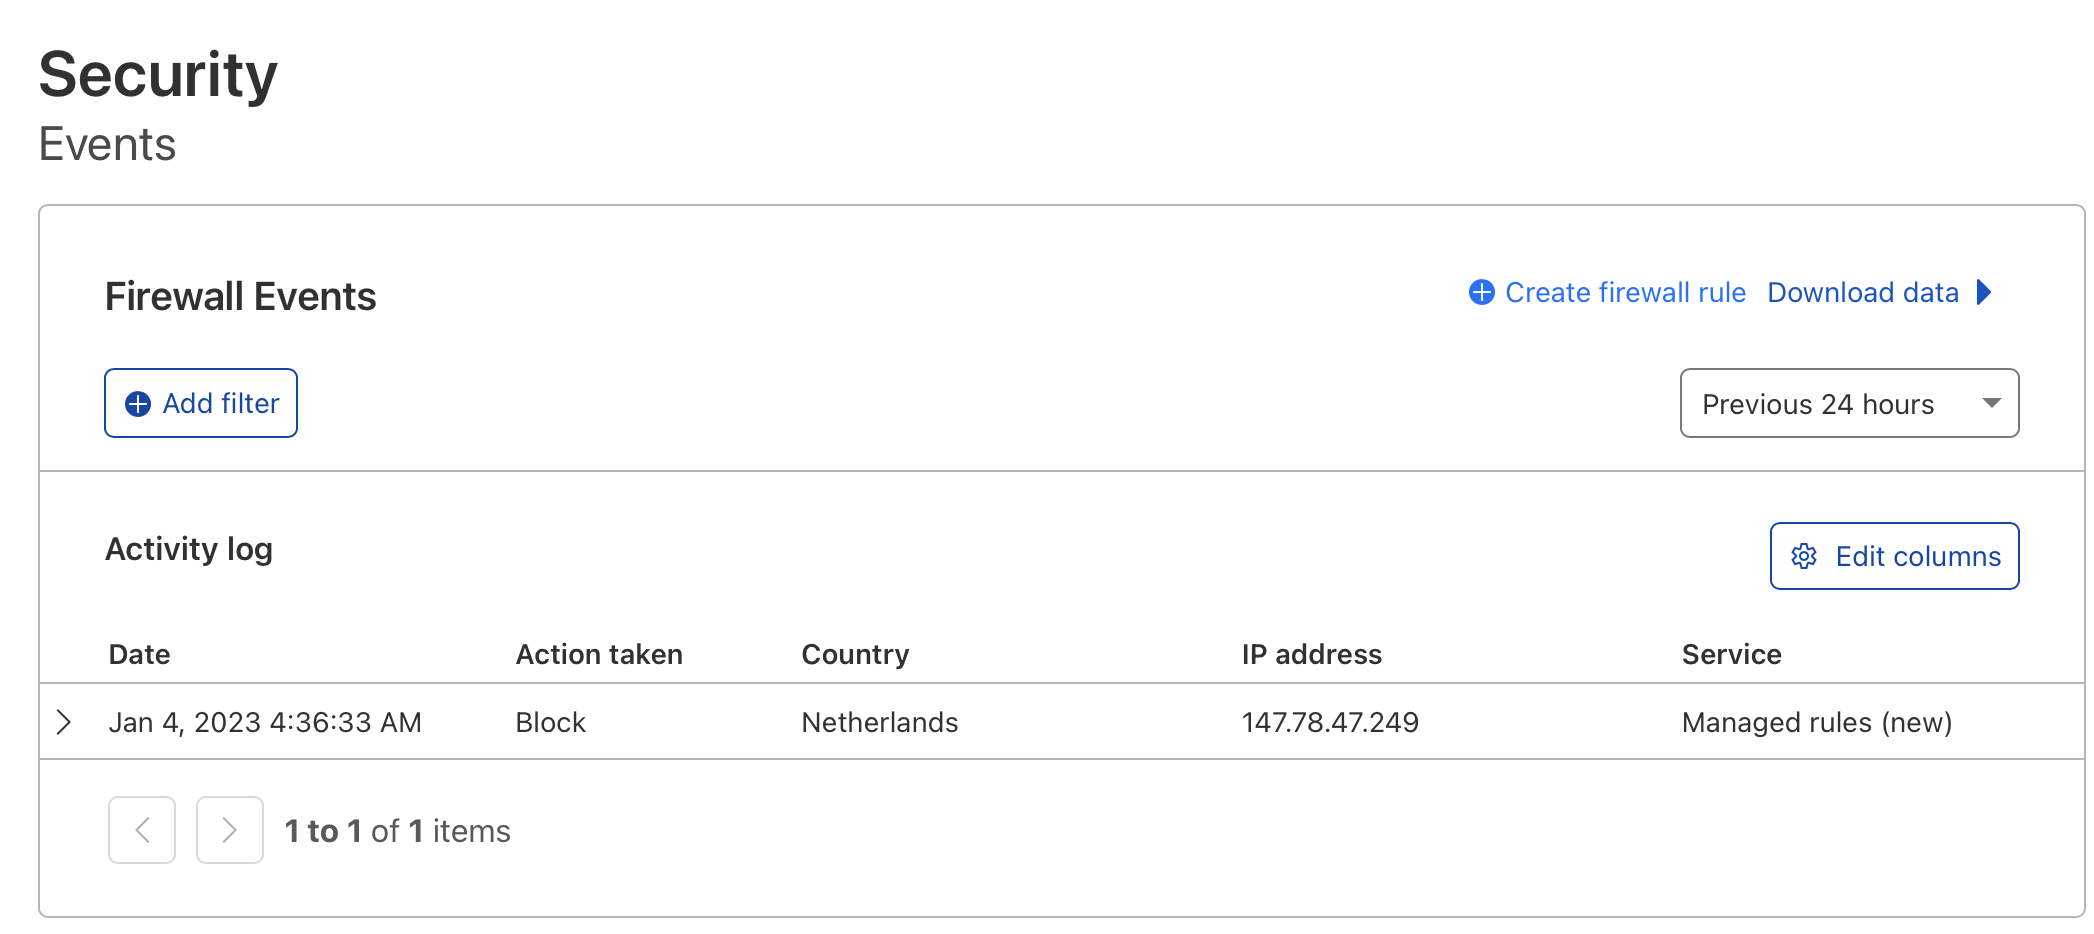
Filter by your rule name or by the country code. You should see entries where the Action taken column shows Block for requests from the country you targeted.
If you tested with a VPN in step 1, your test request should appear in this log with the blocked country and action.
Alternatives to Outright Blocking
A hard block is the most aggressive option. Cloudflare provides several alternative actions that are worth considering depending on your situation:
Rate Limiting: Instead of blocking a country, limit the number of requests per IP per minute from that country. This stops automated attacks without affecting real users who make normal browsing requests. Found under Security → WAF → Rate limiting rules.
Bot Management: Cloudflare’s Bot Management (available on Pro plan and above) scores each request’s likelihood of being a bot. You can create rules that block only high-confidence bots from certain countries while allowing real visitors through. This is more precise than a blanket geo-block.
JS Challenge: Forces the browser to execute a JavaScript challenge before the request reaches your server. Real browsers pass silently; most bots fail because they do not execute JavaScript properly. This is less annoying than a CAPTCHA and highly effective against script-based bots.
Managed Challenge (recommended default): Cloudflare’s intelligent challenge system uses multiple signals to decide whether to show a CAPTCHA or pass the request silently. It is less disruptive than a manual CAPTCHA and more effective than a JS challenge alone. Use this when you suspect bot traffic from a region but are not certain enough to hard-block.
Related: How to manage DNS records on Cloudflare